Developing an upper grill (mail slot) block 2014-2015 3d printed

This past weekend I took some time to put together a 3d printed upper grill block for my 2014 Mirage. I really like how it came out. So, I am going to share with you how I went about designing it and testing it out.
First off, why would you ever want to block off your grill? There are two main reasons to block a grill off. The first is improved aerodynamics. Preventing air from going through the engine bay nearly always improves aerodynamics. The engine bay is very aerodynamically 'dirty'. Thus, pushing air around the car's body is advantageous because the body is more aerodynamically 'slippery'. Next, blocking grill area speeds up warm up times. It is currently December, and it has been in the mid 20s F in the morning here in Wisconsin. The upper grill block does help the car warm up a bit faster by not allowing as much cold air to pass over the engine. It also had the side effect of increasing the intake air temperatures of my warm air intake. Since less air is blowing around the engine bay, the warm air intake is able to suck up warmer air since the heat isn't being blow off the exhaust manifold quite as much. Since it is a small opening, the effects are not as pronounced as blocking the much larger lower grill area. However, this was a fun project to do, and it gives the car a bit of character with the different colors.
That is all well and good, but the OEMs put a grill there for a reason Daox. Isn't it bad to block it off? It certainly can be. However, if we understand why there is a grill and how it was designed, we can better understand the modification. First off, the grill is there to allow cool air to the radiator for cooling. That is really its only purpose. We have to make sure enough air can get to the radiator to cool the engine. Lets also consider how the grill was designed. OEMs must design it for all conditions, so it is sized for a worst case scenario. This means running through a hot desert in the middle of summer with the A/C running. This is the opposite of my climate in winter, haha. Therefore, the grill is incredibly oversized for my environment, and I can take advantage of that and gain some of the benefits talked about above. I have no issues at all with my engine getting too hot on my daily commute to work. I always run my car with a scangauge installed which allows me to monitor my coolant temperatures. I can see when the radiator fan kicks on to cool things down. This never happens in winter, and very rarely in summer. That being said, this is for my climate, not yours. Higher ambient temperatures will require more air flow to cool your engine down and that must be taken into account when doing modifications like this. But, again blocking the upper grill is a very small area, so it doesn't have as big of an effect as blocking the lower grill area.
Those are the pros and cons of blocking your grill off. So, lets get on to the fun stuff!
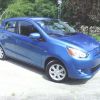
This is my salty car.  I checked out the grill on this thing and found that there are three vertical supports in the upper grill opening that we can use to attach things to. At this point I also measured things up, and got a rough idea of what I'm working with. For your reference, the opening is about 1" tall, and 24" wide.

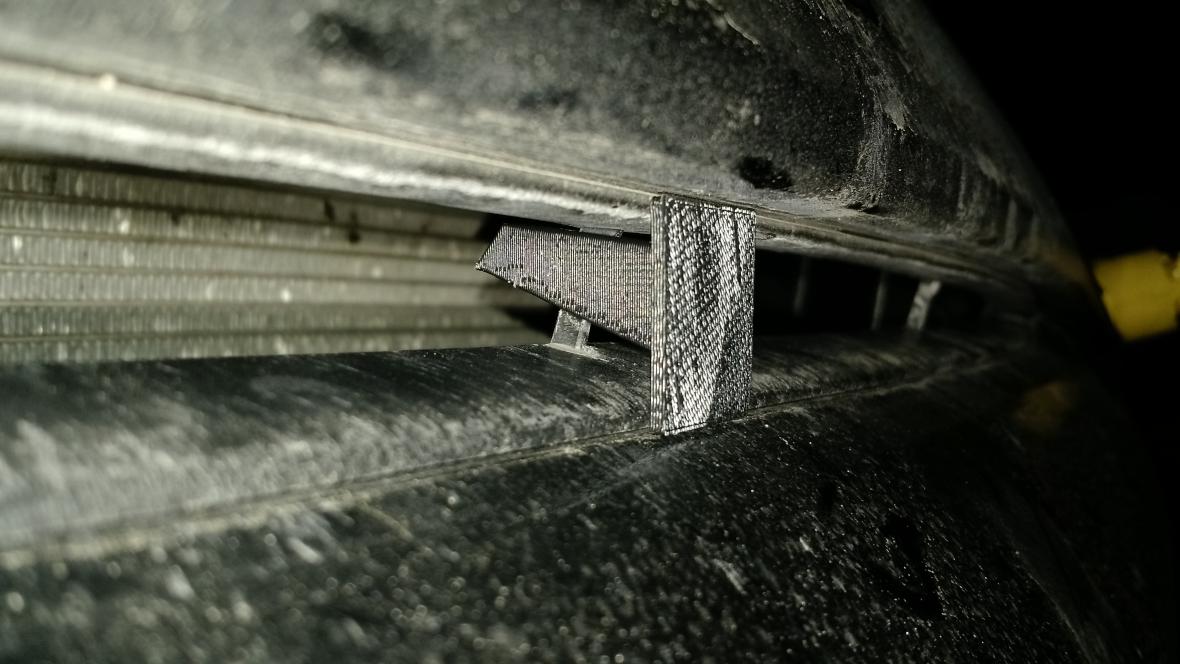
Next up, I tested my attachment method. I figured a clip that goes around either side of those vertical supports would be plenty to hold it on. I 3d printed a test piece after measuring the supports up, and test fit it. To my surprise, the test piece fit perfectly, and the held the piece on quite nice. Typically these things take a few iterations, as you'll see.
Okay, so I got a working clip design, and rough opening dimensions. At this point I drew up the full grill block. I eyeballed how things fit with the tapering of the grill towards the ends, and went on the small size to make sure it fit. I had to split the grill block into 3 pieces so it would fit on my 3d printer. A few hours later, I had the first version of the grill block.

Time to test fit it! The clips worked great, they all lined up really nicely with the supports. However, the end pieces needed some work to fit the opening better. This was expected as I just eyeballed them. I also had to fix some issues with shrinkage and bowing in my parts. You can see the long parts look like the taper towards the ends. This is because as the parts cool on the printer, they shrink. I actually had to change materials because the first material I used shrunk too much and I had too many problems with it.


So, back to the 3d drawing board. The next version filled out the ends a lot better. However, it still had a problem with the grill block not following the contour of the opening. It is a bit hard to see in the picture, but the grill block is sticking out, not laying flat against the grill opening.

The next version got a bit more curvature to it to bring it back in closer to the grill opening.

This is basically where I am at right now. There is a bit more tweaking to do. The pieces fit in really nice. They fit the opening great, follow the front contour of the car great. But, there is one thing that is bugging me just a little bit, and that is that they do not align to each other all that great. Its not super noticeable, but I want to add some alignment tabs between the pieces to keep them lined up to each other. Here is what I am talking about.

__________________________________________
 View my fuel log 2015 Mirage DE 1.2 manual: 47.2 mpg (US) ... 20.1 km/L ... 5.0 L/100 km ... 56.7 mpg (Imp)


 2015 Test Mirage
 Swarthy
 Reply With Quote