


 Mini G
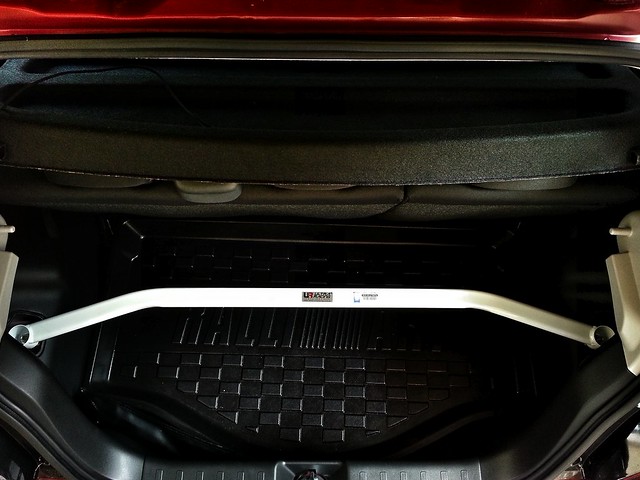
Installed the rear strut bar. Install time is 15 minutes.
Disclaimer: The rear strut bar is not for everyone. If you need the hatch space in its full functionality then this is not for you.
What you need:
Ultra Racing Rear Strut Bar part # UR-RE2-2025
Tools needed:
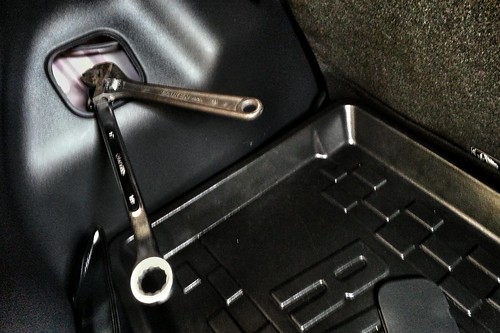
- 17mm offset wrench (needs to be low angle offset)
- Adjustable wrench
- 1/2 Drive Socket Wrench
- 1/2 Drive 17mm socket
- Flat head screwdriver
- used microfiber cloth
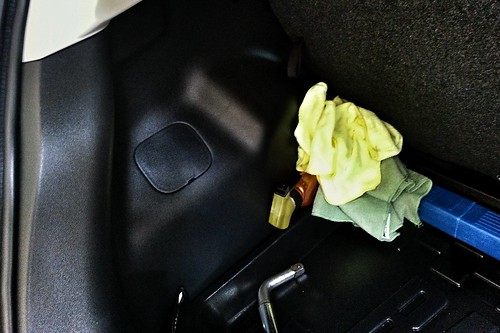
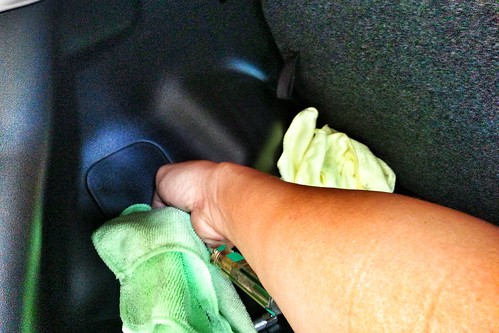
1. Pry open the rear strut covers in the back with a Flat head screw driver with its head wrapped with the microfiber cloth. Safekeep the covers as they are no longer needed once the bar is installed.
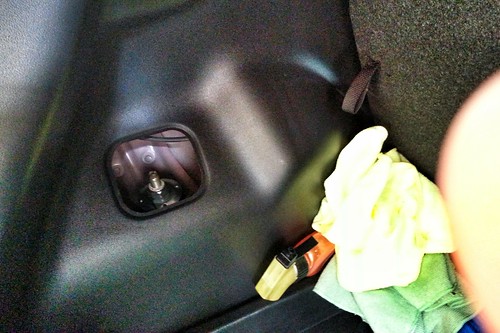
2. Use the 17mm offset wrench and the adjustable wrench as a counterforce to remove the strut nut on the left and right areas.
3. Once the nuts are removed, insert the rear strut into the bolts. Place the included washers before re-installing the nut.
4. Tightened the nuts using the 1/2 drive socket wrench and 17mm socket.
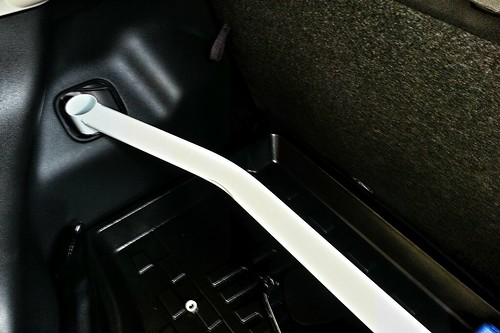
Finalized installation.


 Reply With Quote