


 Bonics
My first entry, of hopefully many DIY projects.
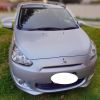
First off: "OEM"-Look B Pillar Wrap/Vinyl
I was trying to achieve this, this is an OEM image of it:
Bigger picture: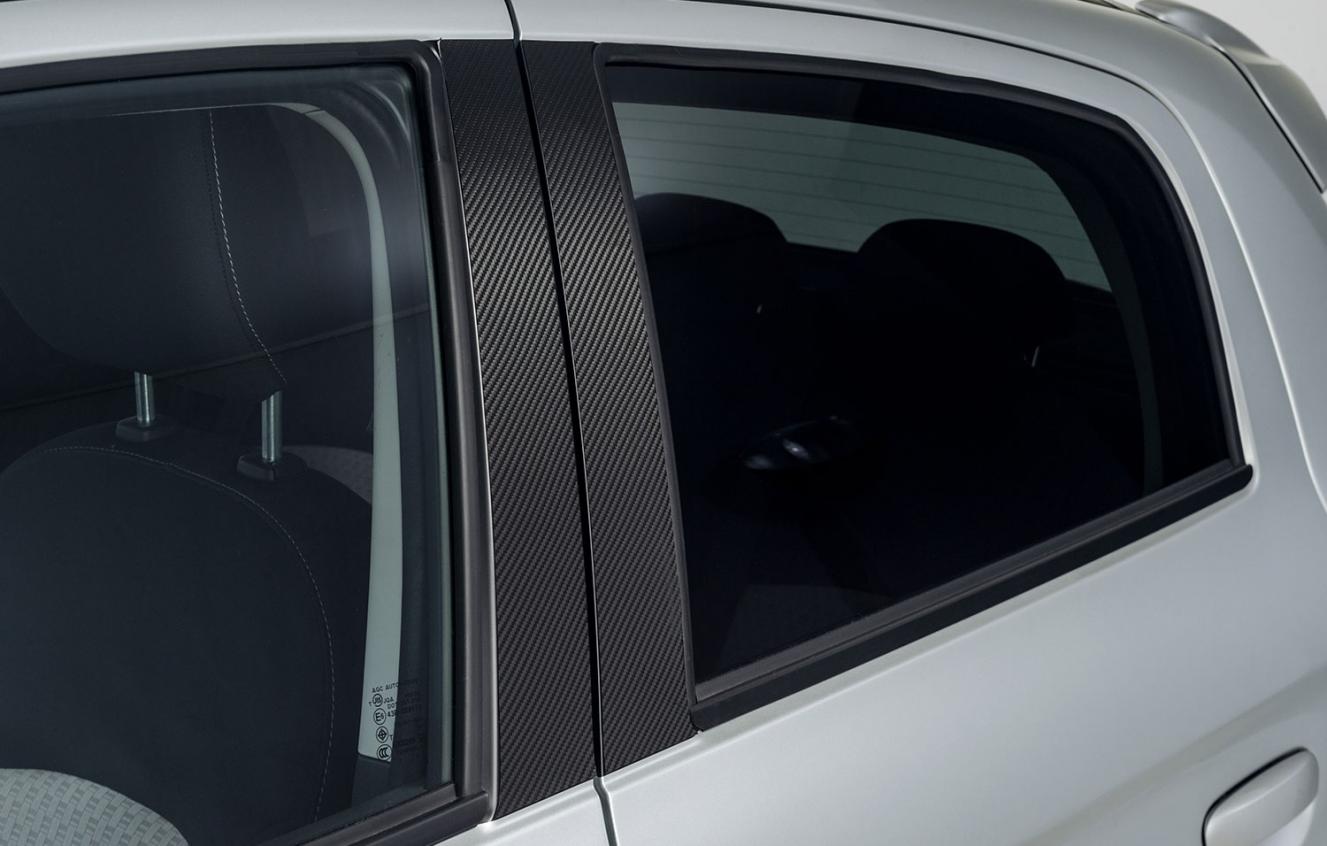
Disclaimer:
Requirements:I know some people have done this before, but this is just to show how I did it. Others probably have done it better. There are countless amount of videos you can watch in youtube.
And yes, you CAN scratch your car if you are not careful in trimming your vinyl. You do not need to press hard on it.

- Any(?) carbon fibre wrap that you could find
- Knife
- Soft Squeegee
- Alcohol
- Microfibre wipes or paper towel
- Patience
- Determination
Duration
Quick Notes:10mins to an 1 hour per door.
I have spent more time doing the cleaning (probably did it 4x time each door), compared to the actual time sticking the vinyl
Preparation: (OPTIONAL)The problem with patterned fabric/wrap/vinyl, is they may have specific "way" of how their pattern is created. I got me DesignerWraps Carbon Fibre - Black.
If you take a cut of the same pattern and using it on the other side of the car, then you'll have the same pattern, not a mirrored pattern.
As an exercise, take this picture below, save it. Crop the two rectangles, rotate one of them 90degrees.
If you are like me, I made sure that both sides of the car will have the same-mirrored pattern. Luckily, their carbon fibre design has equal "squares" and "lengths" of the pattern. So rotating it results in similar visual pattern.
I know some, will only cut and put vinyl on the flat area of the B pillar, but not me, I wanted to be sure the vinyl will be seamless and make's the two windows of the door as "one".
Check the OEM picture above and you'll notice that near the bottom window runner channel of the door, the vinyl is cut-off.
- Put window all the way down.
Front Door:- Remove window runner channel by prying it out by hand.
Rear Door:- For some reason, the bottom runner channel on the rear door is locked in and you can only put the channel to the side
Cleaning:
Next page...
- Clean area where vinyl will be placed
- Wipe dry
- Alcohol-wipe ONLY the areas that will be used. AFAIK Alcohol removes wax, and vinyl does not stick properly to wax.
- Wipe dry
Repeat all steps above as necessary, assuring it is clean AF.
Note:
- Any dirt, grime, whatever, that are not cleaned MAY leave a mark visible on the vinyl
- Any vinyl NOT sticking on to the car is a failure waiting to happen.


 Reply With Quote