So about three weeks ago, some inattentive sod backed into the right rear door of my Mirage in a parking lot. It worked out that the best way to fix it, rather than get insurance involved, would be to simply source a replacement door from a wrecking yard and swap it myself. Here is the damage. It's worse than it looks in the pic because it's hard to photograph. Just a low speed dent that pushed quite a bit of the lower right rear door in.
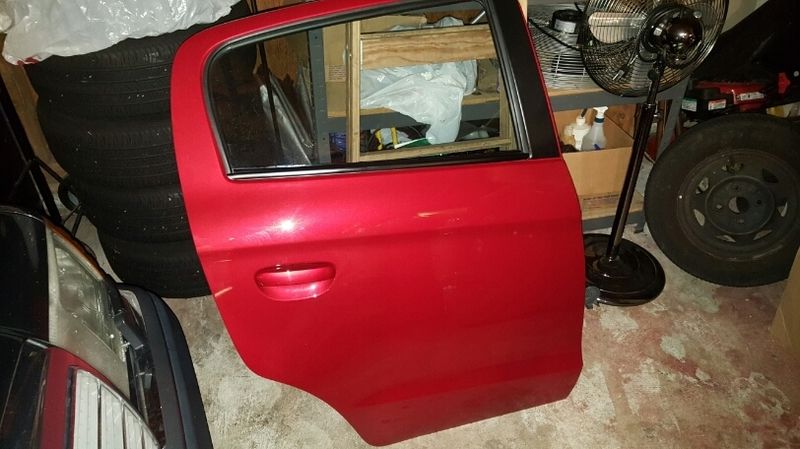
Here is the new door. I got it from a wrecking yard down in Salem, Oregon. They shipped in two days, but shipped the LEFT rear door instead of the RIGHT rear door I asked for! Took them a week and a half to get me the right one, but here it is.
The nice thing about these doors is that they are, for lack of a better term, 'modular'. The door is self-contained...you don't even need to remove the door panel and disconnect anything (wires, etc) to swap them. I am sure this was done to make assembling the cars quicker, but it makes replacing the doors quite easy.
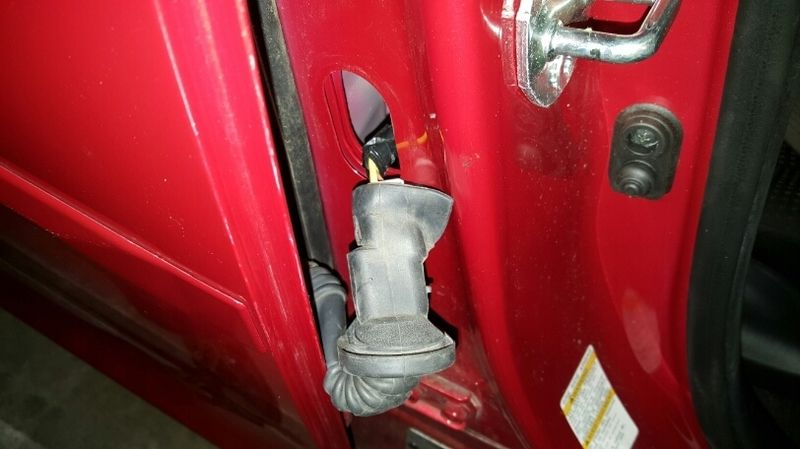
First thing to do is open the front door and pull the wiring grommet from the body in the door jamb. Once removed, you will see an electrical connector (under the rubber sheath). Disconnect it.
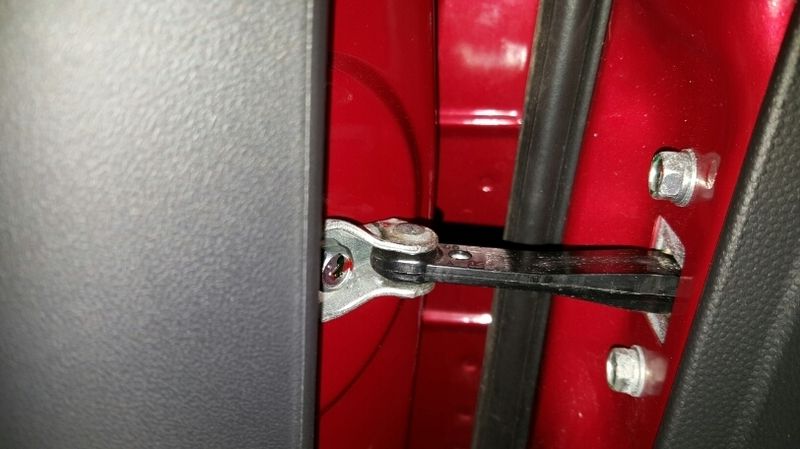
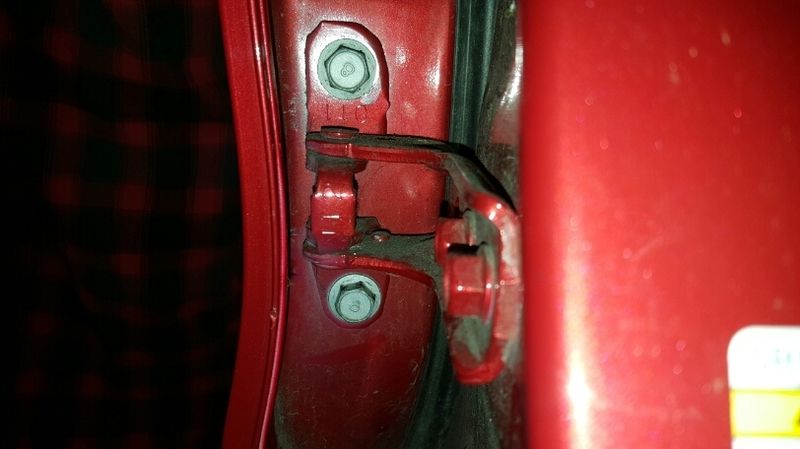
Keep the front door open. Next, open the rear door and LOOSEN but do not disconnect the door stop bolt for the rear door.
Now close the rear door most of the way, and remove the door stop bolt with your fingers. Then CLOSE THE REAR DOOR COMPLETELY. The only things connecting the door to the body are the hinges.
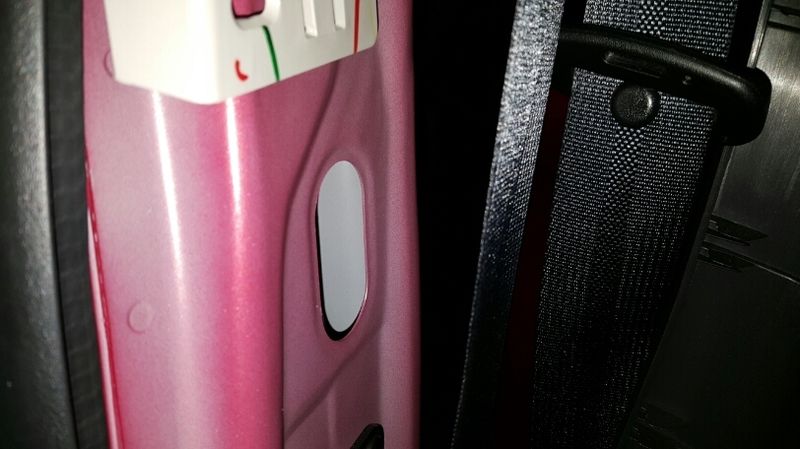
I think the best way to remove the hinges, and the way I did it, was to remove the top hinge from the body and remove the bottom hinge from the door. This will help with realignment later. Of course, if your hinges are damaged you may have to do it differently. If you remove the inner B-pillar trim by pulling it off (starting with the rear edge), you will see an oval hole where the upper door hinge bolts on.
Inside that hole are two nuts. Remove them. Next, find two bolts holding the lower hinge to the door (view is looking back at the door jamb with the front door open).
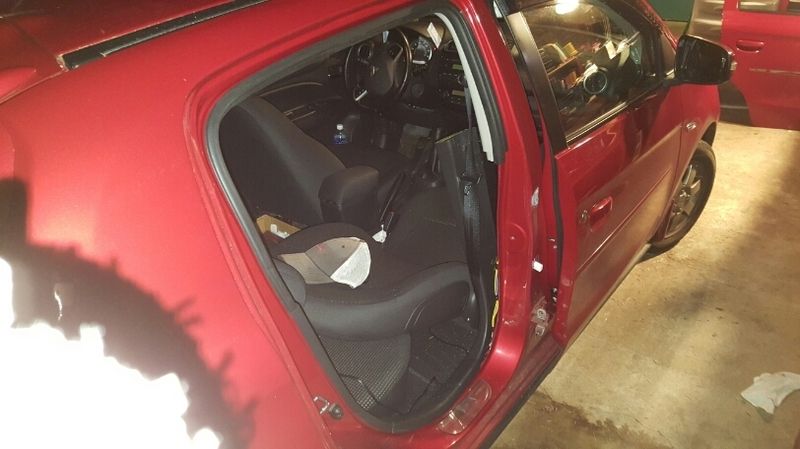
Remove them. Now, the door is just sitting unattached in the door frame. Lift up the door handle while supporting the door on the window frame, and the door should just lift out. BE CAREFUL. Notice that the front door looks closed in the picture below, but that is just because my workbench is nearby and I had to partly close the front door to get to it. This is what you should have. Notice that the upper hinge came off with the door and the lower hinge stayed on the body. The electrical connector is also visible.
Installation is the reverse of removal. If you gently set the door in place, making sure the upper hinge bolts go through the holes, you should be able to latch the door shut and install the bolts and nuts for the hinges at your leisure instead of having to hold the door up. You will likely have to make some adjustments on the hinge bolts to get the door to align properly, but it should all go back together pretty easily.


 "Scarlett and Marsha"
Took them a week and a half to get me the right one, but here it is.


 Reply With Quote